
 Español
 русский
 Français
 Português
 Deutsch
 عربى
عربى italiano
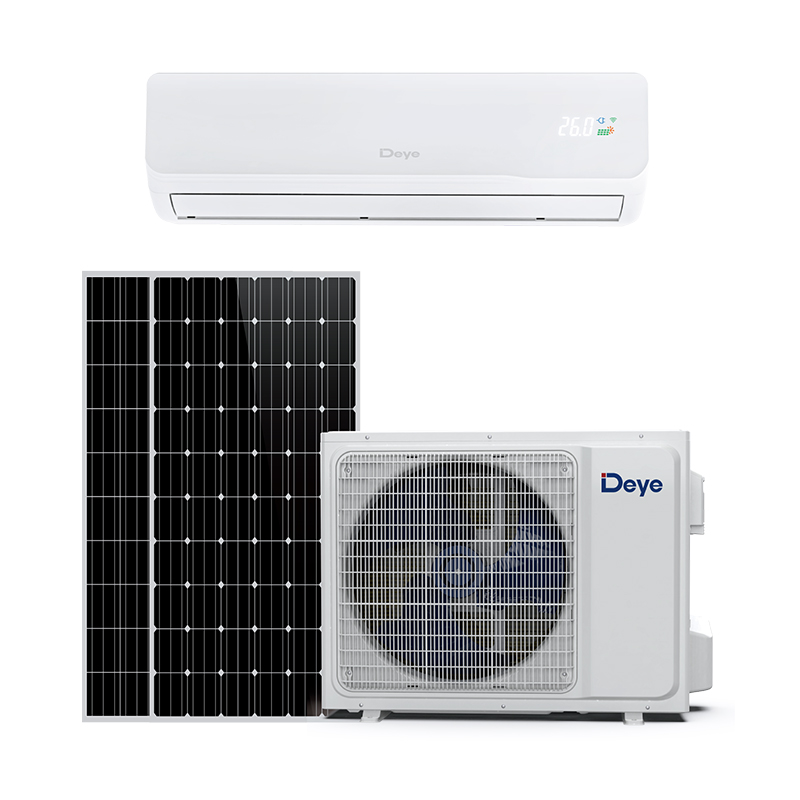
-1.jpg)
Content
I. Foundational Assessment: Site Evaluation and Solar Array Sizing
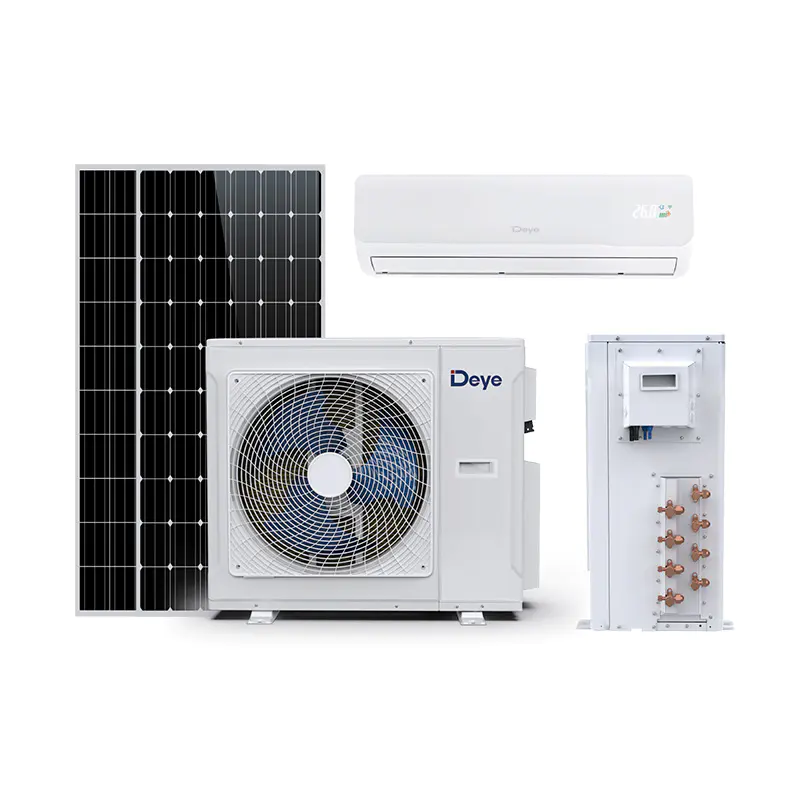
The installation of a Hybrid AC/DC Solar Window AC unit begins not just at the window, but with a comprehensive solar site assessment. This phase is non-existent in traditional AC installation and is critical for system performance.
A. PV Array Sizing and Voltage Configuration
The core difference is the requirement to size and configure the photovoltaic (PV) array to match the air conditioner’s integrated Maximum Power Point Tracking (MPPT) controller specifications. Installers must adhere strictly to the unit's technical data sheet for DC input voltage range and maximum input current.
This involves a precise calculation to determine the optimal number of solar panels to be wired in series. The goal is threefold:
-
Ensure the array’s open-circuit voltage does not exceed the AC unit’s absolute maximum DC input voltage, especially under cold temperature conditions.
-
Guarantee the array’s maximum power point voltage consistently falls within the AC unit’s MPPT tracking window for peak energy harvest.
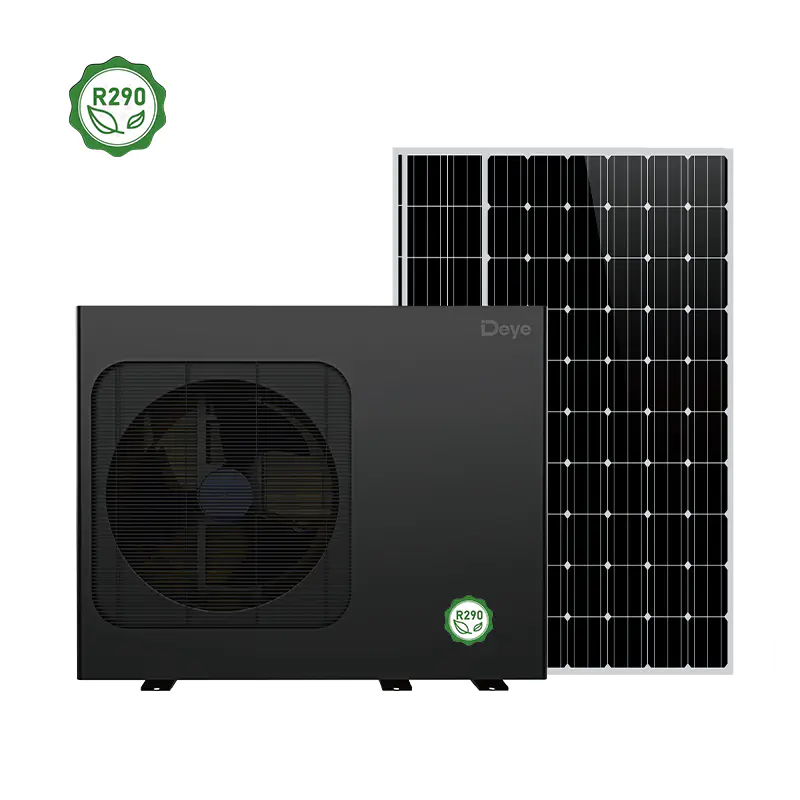
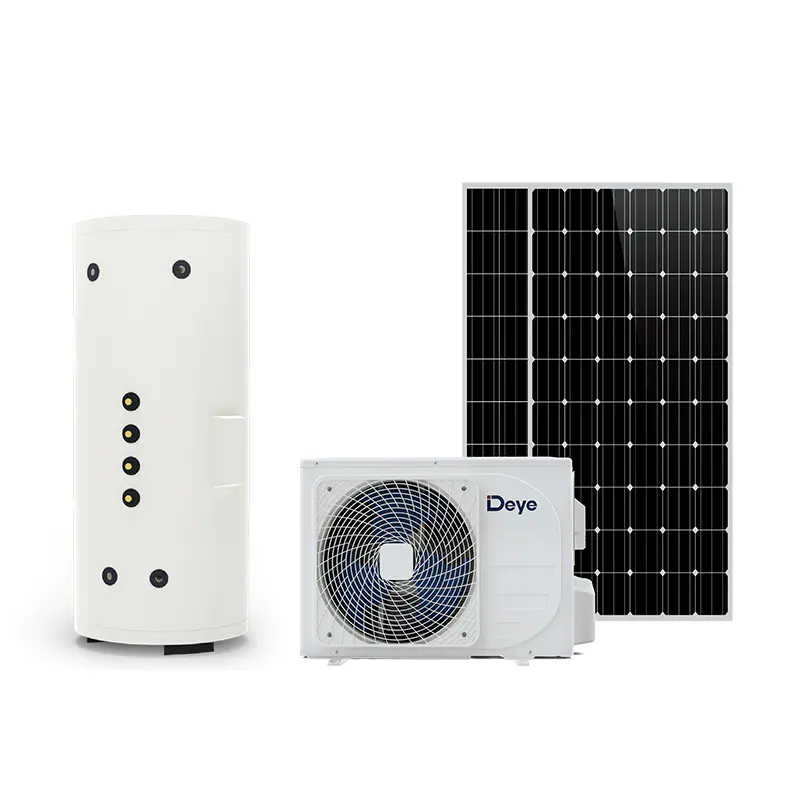
B. Optimal Solar Panel Placement
Unlike traditional units, solar models require dedicated space for the PV panels. The chosen location—be it a rooftop, balcony, or ground mount—must be assessed for maximal, unobstructed solar irradiance (typically South-facing in the Northern Hemisphere). The panels must be securely mounted using industry-standard racking systems, with the tilt angle optimized for the site’s latitude to maximize daily solar exposure.
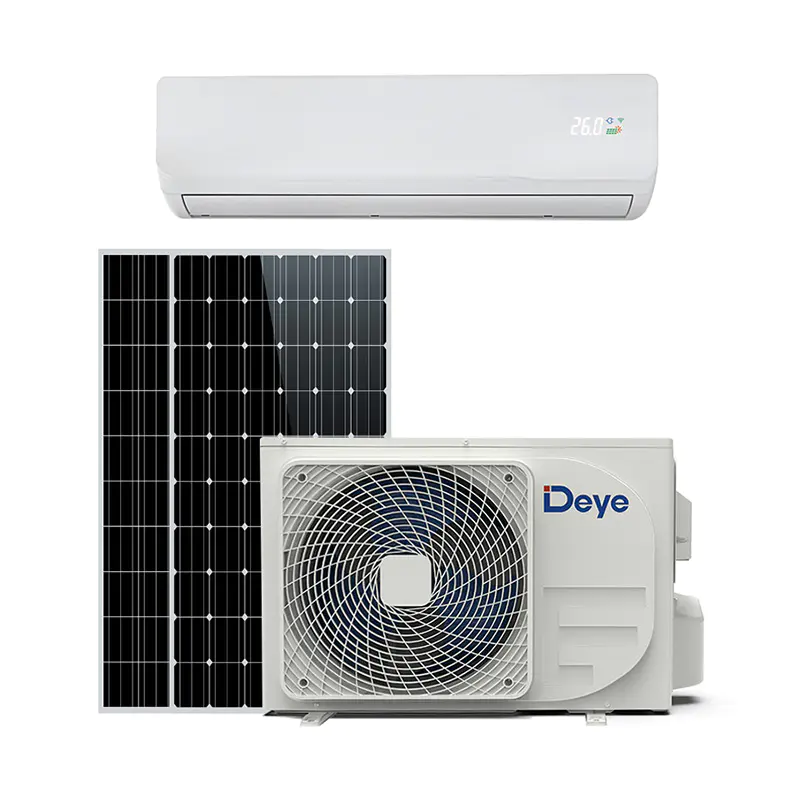
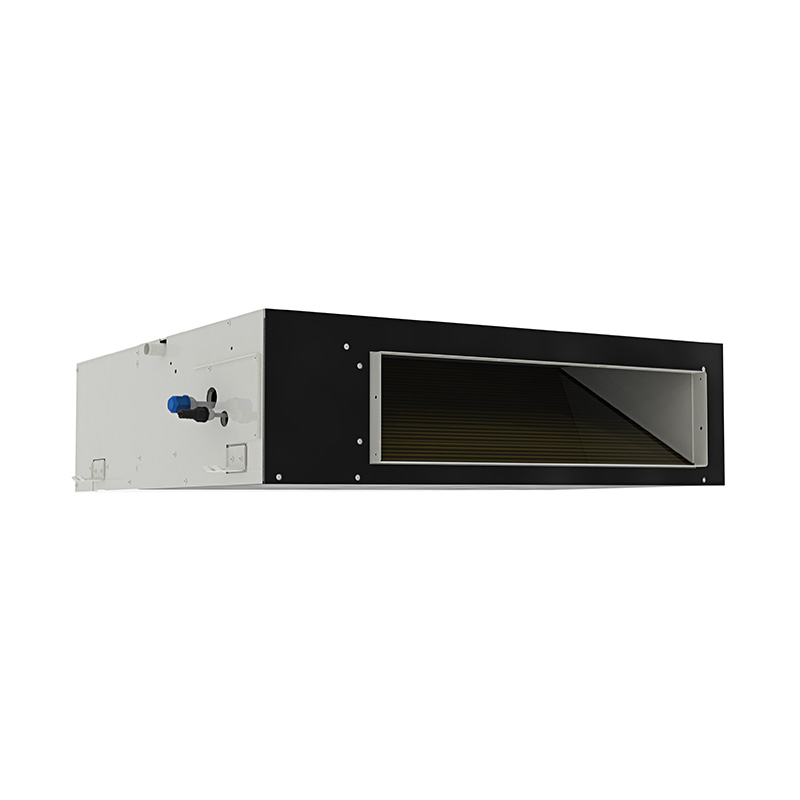
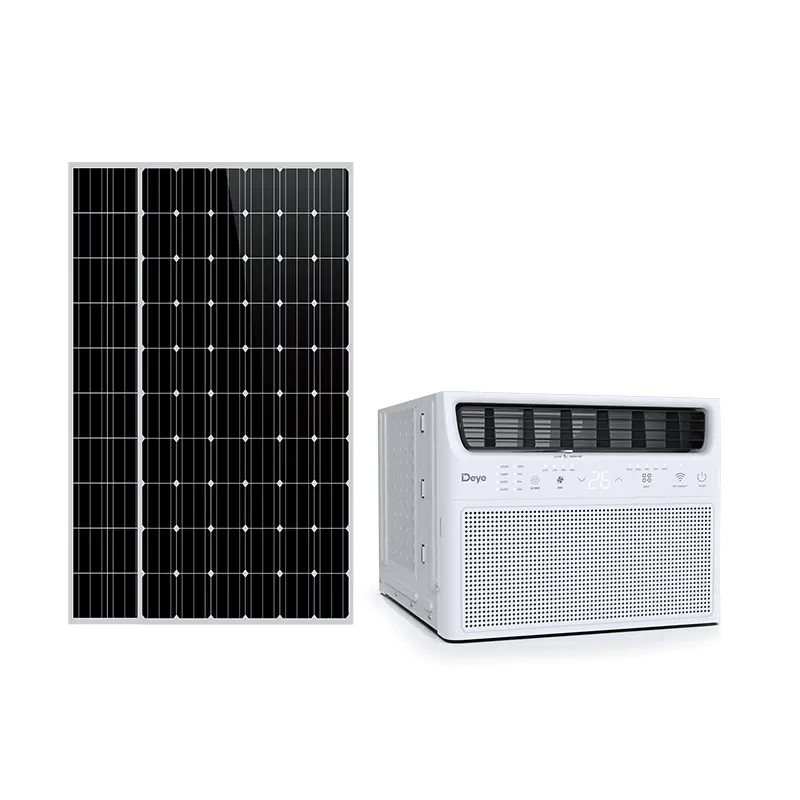
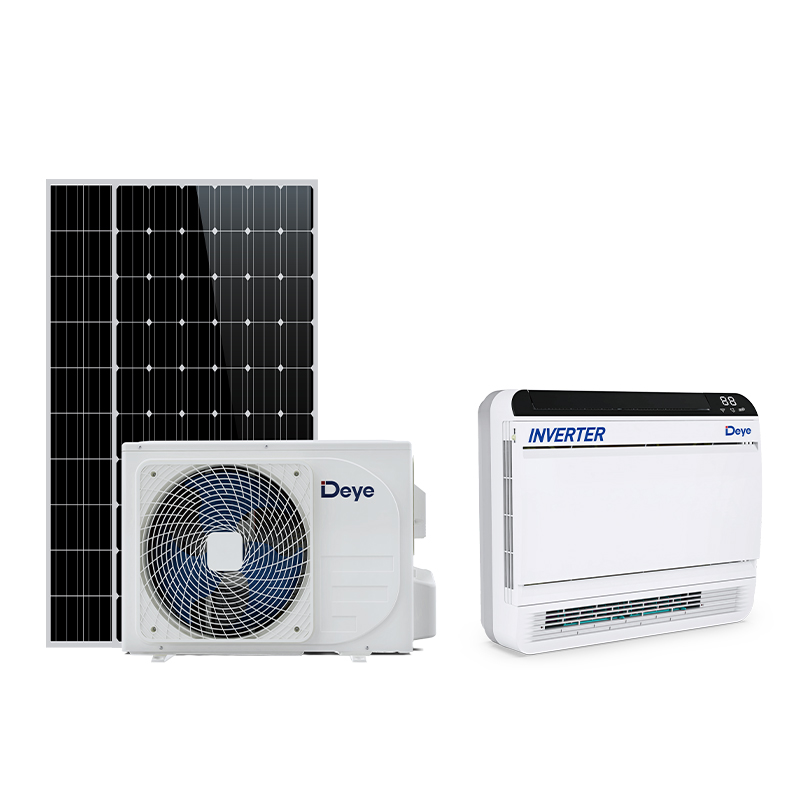
II. AC Side Integration: The Standardized Window Unit Setup
The AC component installation remains familiar, but with an increased emphasis on energy efficiency to complement the solar input.
A. Window Unit Mounting and Sealing
The physical installation of the window unit itself follows conventional procedures:
-
Structural Placement: Carefully lifting and setting the unit within the window frame, ensuring a slight downward tilt toward the exterior for proper condensate drainage.
-
Secure Fastening: Bolting the unit to the window frame using the provided brackets for stability, mitigating vibration and ensuring safety.
-
Air-Tight Sealing: Employing foam insulation and side panels to create a perfectly sealed perimeter. This step is paramount. Any air leaks directly compromise the system's efficiency, forcing the unit to pull more power from the AC grid, thus negating the solar benefit.
B. Standard AC Power Connection
The unit’s standard 120V or 240V AC plug is connected to the conventional electrical supply. Verification of the circuit's amperage capacity is a professional prerequisite to handle the full load when the unit operates in pure AC mode (e.g., at night or during heavy cloud cover).
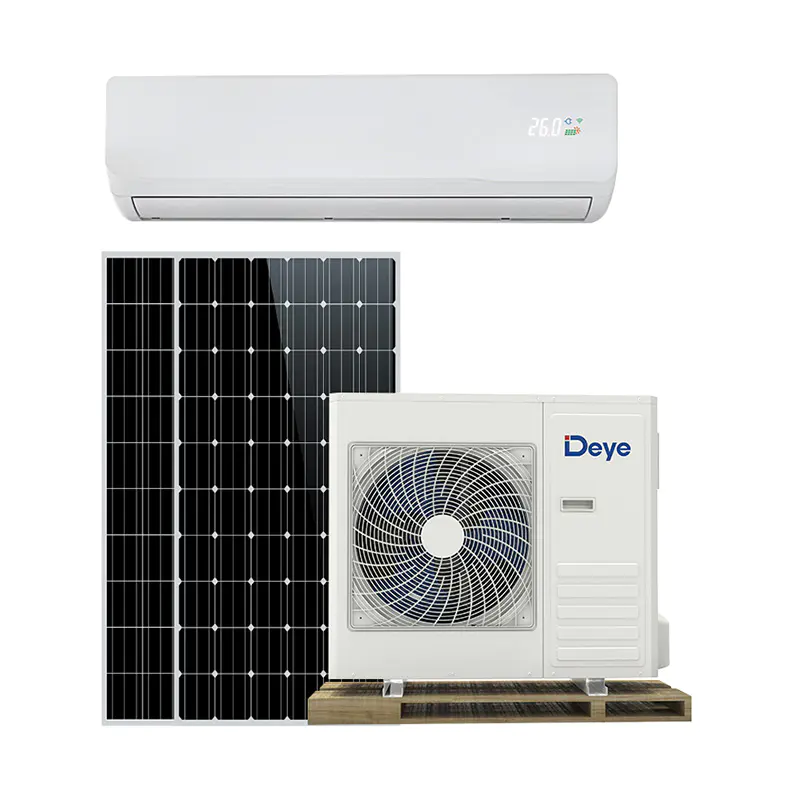
III. DC Side Interconnection: High-Voltage Safety and Wiring Protocol
The DC wiring procedures represent the most specialized and safety-critical deviation from standard AC unit installation. This involves handling high-voltage DC power directly from the solar array.
A. High-Voltage DC Cabling
Routing the DC cables from the solar array to the AC unit’s outdoor section demands specialized cabling:
-
Cable Specification: Only UV-resistant, dedicated PV DC cables with the appropriate gauge must be used to minimize voltage drop and energy loss across the distance.
-
MC4 Connector Termination: DC cable ends must be terminated with MC4 connectors using professional crimping tools. A correct crimp is essential for a safe, low-resistance, and weather-tight connection. Faulty MC4 connections are a primary point of failure in solar systems.
B. DC Isolation and Electrical Safety Implementation
Professional installation mandates the integration of critical safety components not found in standard window AC installations:
-
DC Isolator Switch: A mandatory DC isolator switch must be installed in an easily accessible location between the PV array and the AC unit’s DC input port. This switch provides a safe, manual means of disconnecting the high-voltage DC power for maintenance, troubleshooting, or emergencies, adhering to electrical codes.
-
System Grounding: The metallic frames of the solar panels, the mounting structure, and the AC unit’s grounding terminal must be reliably and correctly grounded in compliance with national and local electrical standards to protect against electrical faults and lightning strikes.
C. Final DC Input Connection
The MC4-terminated DC positive (P+) and negative (P-) cables are plugged directly into the corresponding ports on the Hybrid AC/DC window unit. This direct-to-compressor DC feed is the system's core innovation and requires strict adherence to polarity.
IV. Commissioning and Operational Verification
The final step is commissioning, which focuses on validating the hybrid power logic—the signature feature of the ACDC unit.
A. Hybrid Auto-Balance Confirmation
The installer must power on the system during peak daylight hours and verify that the unit’s internal logic successfully initiates solar-priority operation. This is often confirmed via a mobile application or a display on the unit that shows the split power consumption (low AC grid power draw, high DC solar power utilization). The successful demonstration of the seamless AC/DC auto-balance function ensures the system is achieving its maximum intended energy savings.
B. Failover Testing
The system must be tested by artificially reducing the solar input (e.g., temporary shading or waiting for cloud cover) to confirm the unit smoothly and instantly transitions to drawing supplemental power from the AC grid without interruption to the cooling cycle. This validates the system’s 24-hour reliability.
