

 Español
 русский
 Français
 Português
 Deutsch
 عربى
عربى italiano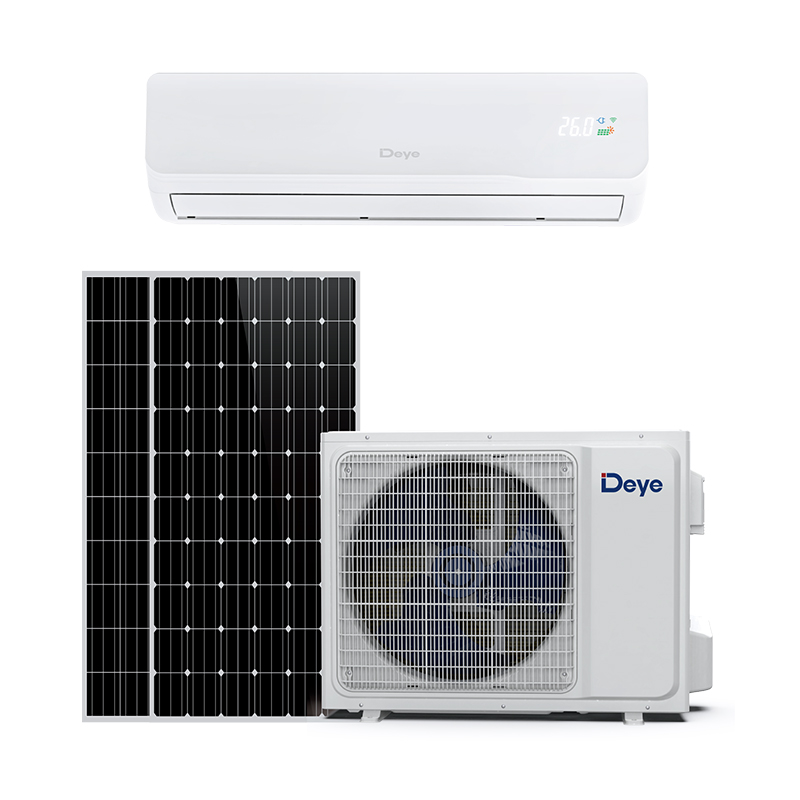
-1.jpg)

How Much Power Does an RV Air Conditioner Actually Use?
Before you buy another solar panel, you need a realistic number for what your RV AC actually draws. Most RV air conditioners are rated by cooling capacity in BTUs, not by electrical consumption. That distinction causes a lot of confusion when people start sizing solar systems.
Here is the short answer based on common RV setups and real measurements shared in RV solar forums:
| AC Capacity | Typical Running Power | Startup Surge |
|---|---|---|
| 8,000 BTU | 700–900 watts | 1,500–2,000 watts |
| 13,500 BTU | 1,300–1,500 watts | 2,800–3,500 watts |
| 15,000 BTU | 1,500–1,800 watts | 3,200–4,000 watts |
These are real-world estimates, not manufacturer ideal numbers. A 13,500 BTU roof AC is the most common unit in North American RVs, and it typically settles into a steady draw around 1,300 to 1,500 watts once the compressor is running. That means every hour of cooling consumes 1.3 to 1.5 kWh of energy. A less efficient unit, a dirty filter, or high outdoor temperatures can push that number higher.
Startup surge is the bigger problem. When the compressor kicks on, it can briefly pull 2.5 to 3 times its running wattage. A 13,500 BTU AC that runs at 1,400 watts can surge past 3,500 watts for a fraction of a second. That surge dictates your inverter size and often forces you to buy more battery capacity than the steady-state math suggests.
Energy efficiency matters too. An air conditioner with a higher EER or SEER rating produces the same cooling with less electricity. If you are choosing between two 13,500 BTU units, even a 10 to 15 percent efficiency gap changes your solar system requirements noticeably over a full day of runtime.
The 4 Steps to Calculate Your Solar Power Needs
Rather than rely on a generic recommendation like "you need 1,000 watts of solar," you can calculate your own number in four steps. The math works for any RV AC size, any battery chemistry, and any location.
Step 1 — Determine Your AC Running Wattage
Check the nameplate on your air conditioner or its owner's manual. Look for rated amps at the operating voltage. Multiply volts × amps to get watts. For a 120V AC drawing 12 amps, that is about 1,440 watts. If you cannot find the exact spec, use 1,500 watts for a 13,500 BTU unit and 1,700 watts for a 15,000 BTU unit as a conservative baseline.
Step 2 — Estimate Daily Runtime and Sun Hours
Decide how many hours per day you actually plan to run the AC. Do you want quick cooling for an afternoon nap, or continuous comfort through a hot desert night? Next, find your location's peak sun hours. This is the daily equivalent of full, unobstructed sunlight. In most of the US, 4.5 to 6 peak sun hours is a reasonable planning range for summer conditions.
Step 3 — Account for System Losses
Solar power does not flow perfectly from panel to battery to AC. Each component loses something:
- Inverter conversion: 10–15 percent loss
- Battery charge/discharge efficiency: 5–15 percent loss, depending on chemistry
- Wiring and connections: 2–5 percent loss
Multiply your daily energy need by a safety factor of 1.3 to 1.5. This covers losses, partial cloud cover, and realistic battery behavior.
Step 4 — Calculate Solar Array and Battery Size
Here is the full formula in a concrete example. Assume a 13,500 BTU AC running at 1,400 watts for 5 hours per day.
Daily consumption = 1,400 watts × 5 hours = 7,000 watt-hours (7.0 kWh).
Daily energy target with losses = 7,000 × 1.4 = 9,800 watt-hours.
Solar array size = 9,800 watt-hours ÷ 5 peak sun hours ≈ 1,960 watts.
Battery capacity is a separate calculation. You need enough usable stored energy to cover both the AC and overnight loads. With a 13.2V lithium battery and 80 percent usable depth of discharge:
Required usable capacity = 7,000 watt-hours ÷ 0.85 inverter efficiency ≈ 8,235 watt-hours.
Required battery capacity = 8,235 ÷ 13.2V ÷ 0.80 DoD ≈ 780 amp-hours.
That is a serious battery bank. This example assumes 5 full hours of AC runtime per day, which is moderate use for boondocking in summer. If you only run the AC for 2 hours during the hottest part of the day, every number shrinks dramatically.
Real-World Sizing Scenarios: Battery + Solar Panel Combos
To make this practical, here are three realistic configurations. Each one assumes a 13,500 BTU AC drawing around 1,400 watts while running, a 12V lithium battery bank, and an efficient inverter setup.
| Usage Pattern | Solar Array | Battery Bank | Approx. AC Runtime |
|---|---|---|---|
| Occasional quick cooling | 400–600 watts | 300–400 Ah LiFePO₄ | 1–2 hours |
| Daily comfort for several hours | 800–1,200 watts | 600–800 Ah LiFePO₄ | 4–6 hours |
| Extended off-grid camping | 1,800–2,400 watts | 800+ Ah LiFePO₄ | 8+ hours |
The lightest setup works if you are driving between campgrounds with shore power available and just want to cool the RV down for a brief rest stop. The medium setup is closer to what many full-time boondockers end up installing. The heavy setup gets you through a hot week without chasing the sun.
Battery chemistry changes the cost picture significantly. Lead-acid batteries can supply only about 50 percent of their rated capacity without damage. A 400 Ah lithium bank gives you about 320 Ah of usable energy; the same rated lead-acid bank gives you closer to 200 Ah. That is why most serious RV solar installs now use LiFePO₄ lithium batteries despite the higher upfront cost.
One honest caveat from experienced RV solar owners: battery capacity matters more than solar wattage for short runs. A 400W solar array with a large battery bank can run your AC briefly even when the sun is weak. A 2,000W array with a small battery bank cannot start the AC at night. Size both, but do not underestimate the batteries.
Why Starting Surge Is the Real Challenge — and 3 Practical Solutions
Many RV owners install enough solar and battery capacity for steady AC operation, then watch the inverter trip the moment the compressor starts. The startup surge is the reason. Compressor motors need a momentary burst of current to overcome static friction and build up refrigerant pressure.
You have three proven solutions:
Solution 1: Install a Soft Starter
A soft starter reduces the inrush current by ramping up the compressor gradually. In real-world RV testing, soft starters lower startup surge by as much as 75 percent. That can drop a 3,500-watt surge down to roughly 1,500 to 1,800 watts, which many 2,000W or 2,500W inverters can handle without complaint. This is the most cost-effective fix if you already own a conventional AC unit.
Solution 2: Size Your Inverter with Real Headroom
If you skip a soft starter, your inverter needs to survive the surge, not just the running load. For a conventional 13,500 BTU AC, a 3,000W continuous inverter is the minimum most experienced installers recommend. A 4,000W unit gives more margin for older ACs or hotter ambient temperatures. This approach adds cost and slightly increases idle power draw, but it is simple and reliable.
Solution 3: Choose a DC or Hybrid AC/DC Solar Air Conditioner
DC-powered and hybrid AC/DC air conditioners bypass part of this problem. They are designed to draw power directly from a battery bank with a variable-speed DC compressor, which ramps up smoothly instead of slamming on. There is no inverter conversion loss, and the startup surge is much softer because the compressor speed increases gradually. For RV owners building a system from scratch, this sometimes means a smaller battery bank and a simpler electrical layout than a conventional AC unit would require.
The Smarter Path: DC and Hybrid AC/DC Solar Air Conditioners
A conventional RV solar setup follows this chain: solar panels → MPPT charge controller → battery bank → inverter → AC unit. Every conversion from DC to AC costs you 10 to 15 percent of your stored energy. If you are doing the math for a 7,000-watt-hour daily load, that loss can mean adding an extra 1,000 watts of solar panel.
A DC or hybrid AC/DC system changes the chain: solar panels → MPPT charge controller → battery bank → DC air conditioner. The hybrid AC/DC version also accepts grid power when available, which makes it practical for RVs that sometimes plug into shore power and sometimes boondock.
The efficiency gain is not marginal. By eliminating the inverter and smoothing the startup load, the same cooling output can consume roughly 10 to 15 percent less from the battery bank. Startup handling also becomes easier, which means a 2,000W inverter or even no inverter at all may be sufficient depending on the rest of your loads.
If you are researching this option, look at how hybrid AC/DC solar air conditioners work before buying anything. The main trade-off is compatibility. Most RVs come pre-wired for 120V rooftop AC units. Converting to a DC unit typically means installing a wall-mounted or cassette-style unit, which may not fit the existing roof cutout. But for owners doing a full renovation, building a new RV electrical system, or working with a larger Class A or C chassis, the flexibility is worth considering.
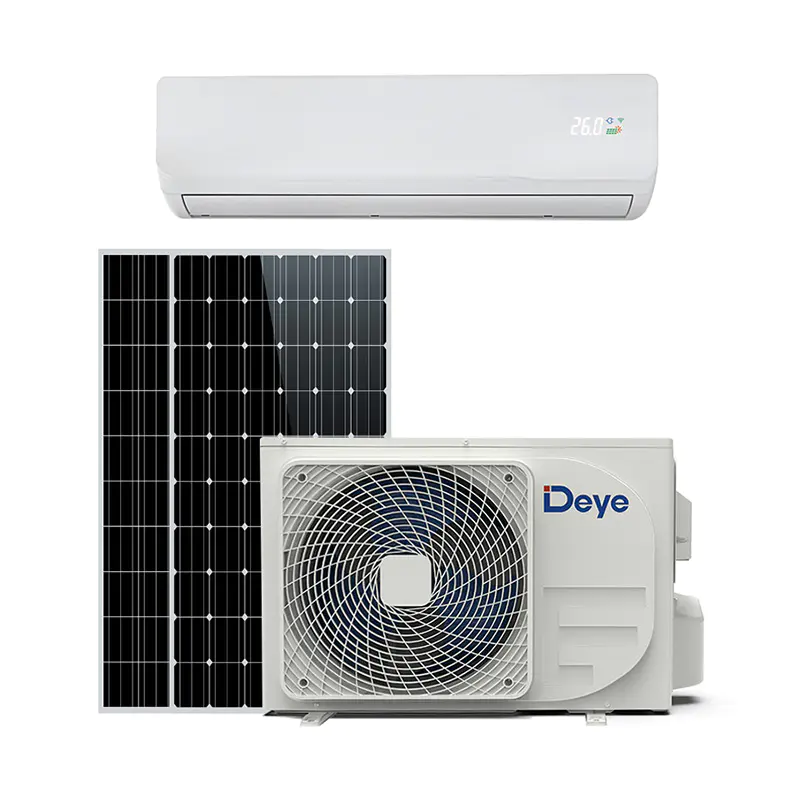
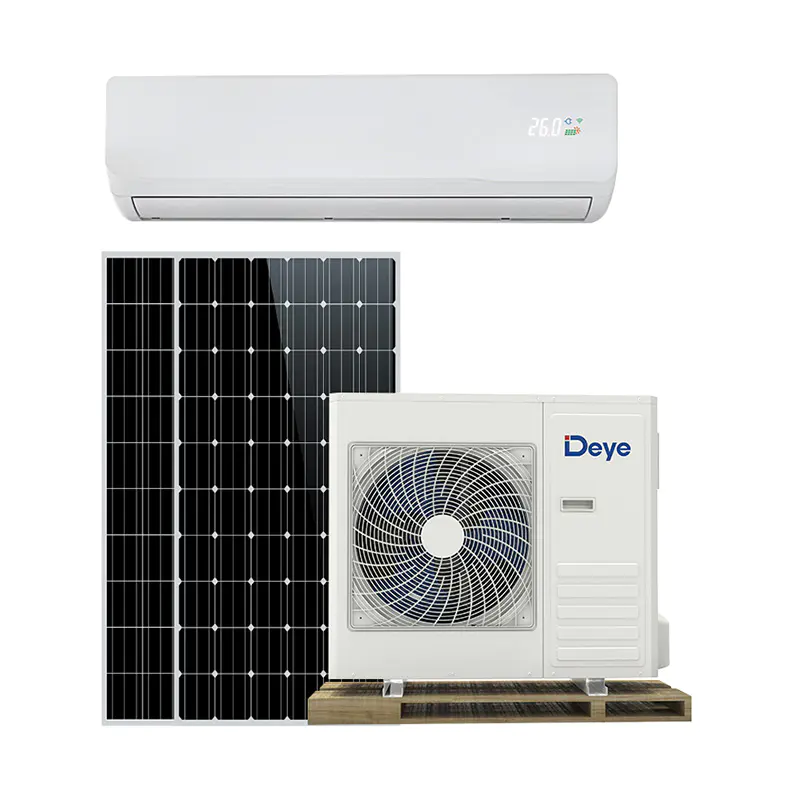
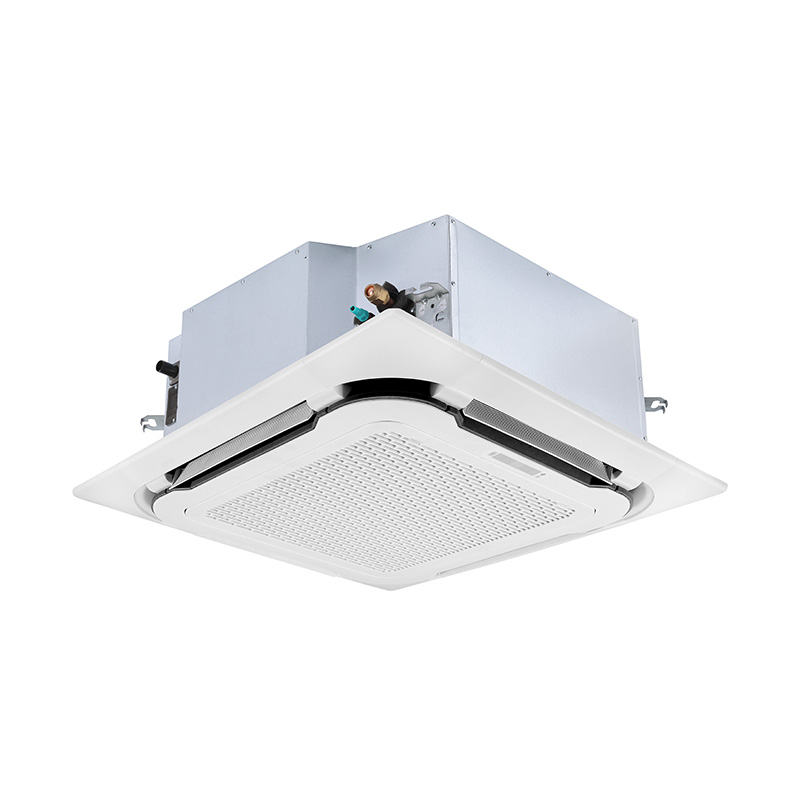
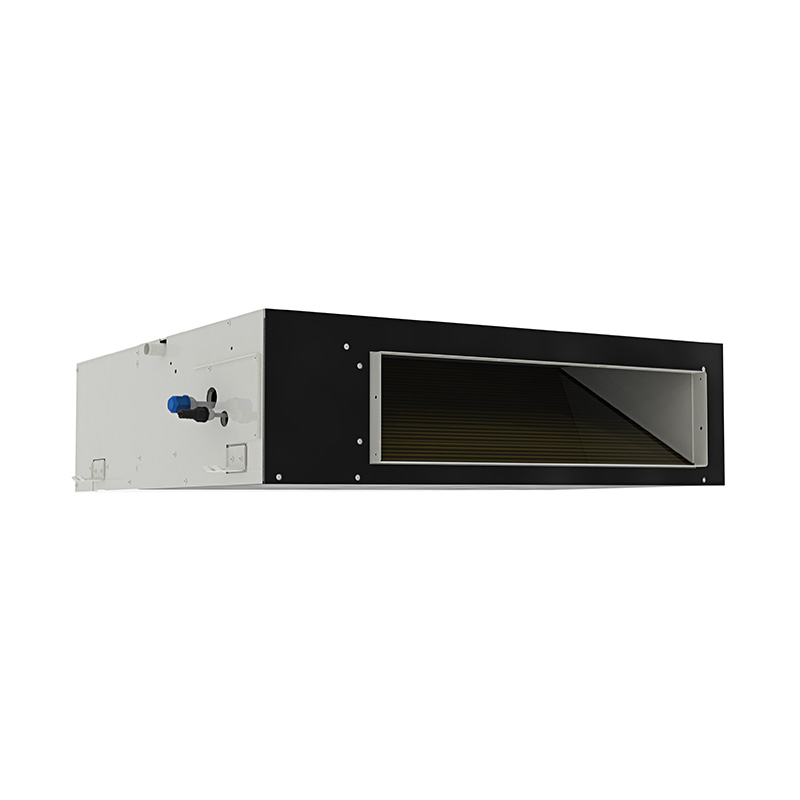
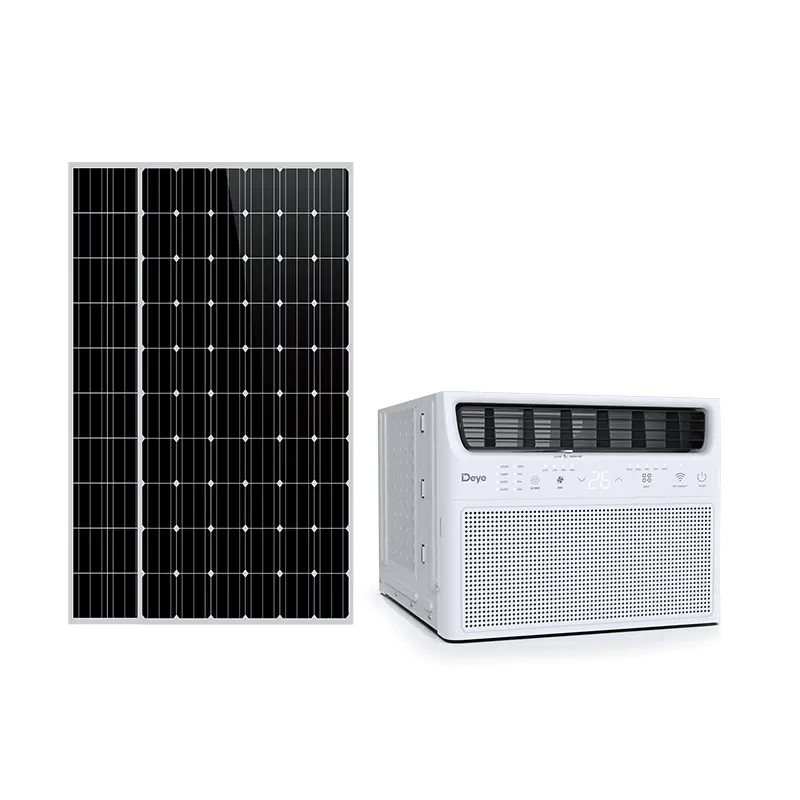
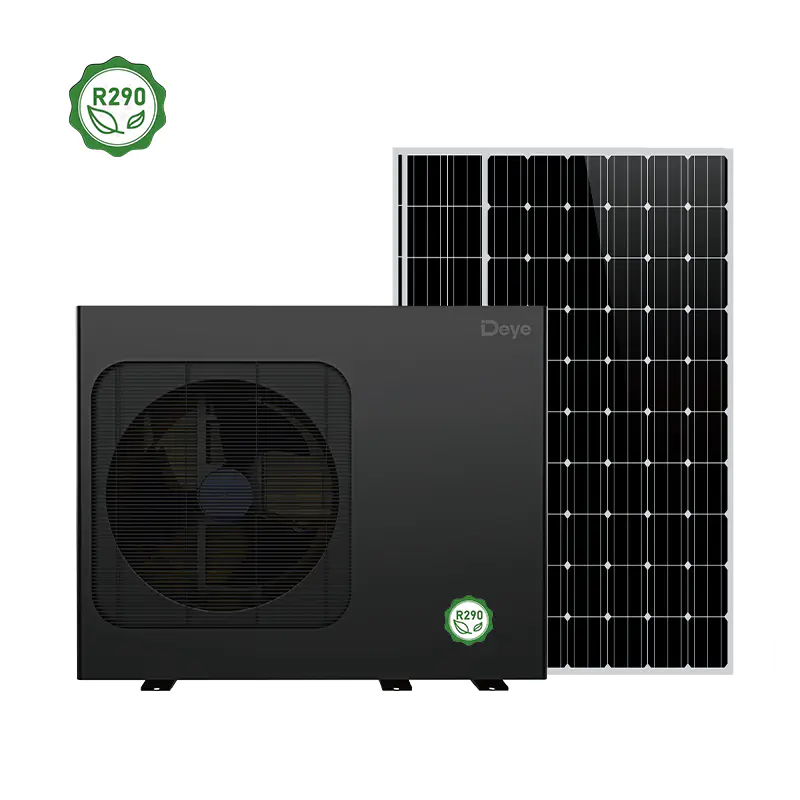
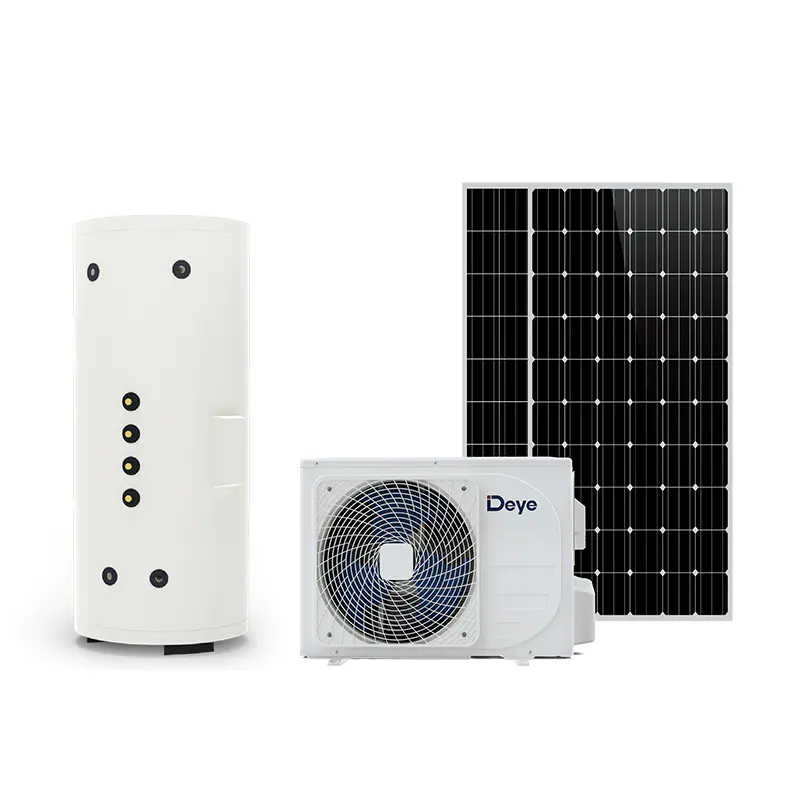
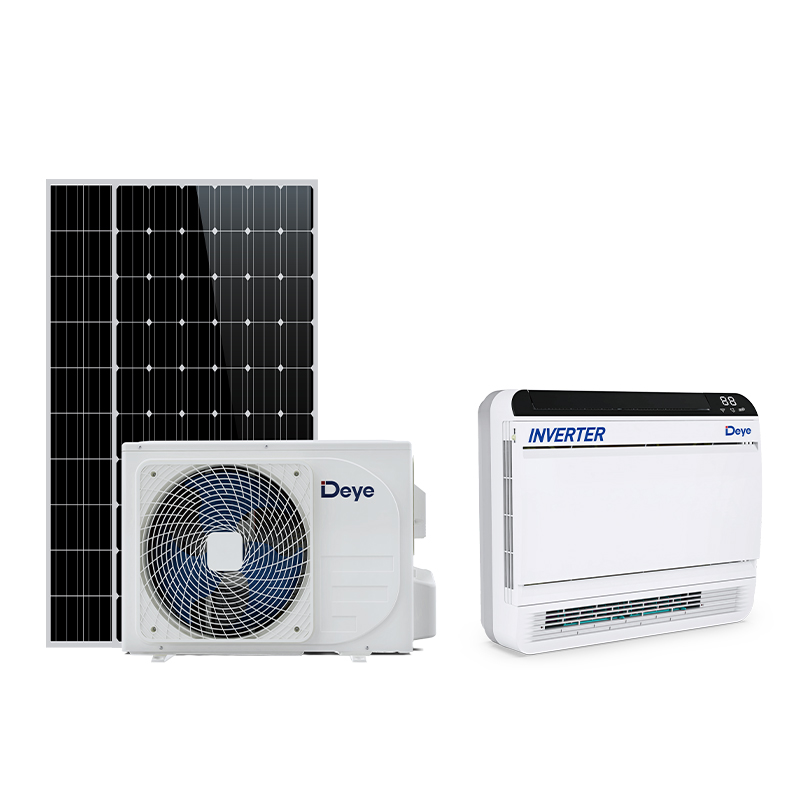
Several Deye models fit this niche. The hybrid AC/DC solar air conditioner runs on AC and DC power and uses R410A or R32 refrigerant. For full off-grid independence, the 48V off-grid DC solar AC for independent power is designed to run entirely from a battery bank without an inverter. If your RV has generous interior space, a cassette-type solar AC for larger RVs can distribute airflow better than a wall-mounted unit in certain layouts.
 Light Commercial Solar AC Cassette Type R410A/R32 Manufacturers, Suppliers, FactZhejiang Deye HVAC Technology Co., Ltd. is China light commercial solar AC cassette type manufacturers and suppliers, our factory custom ...View Product →
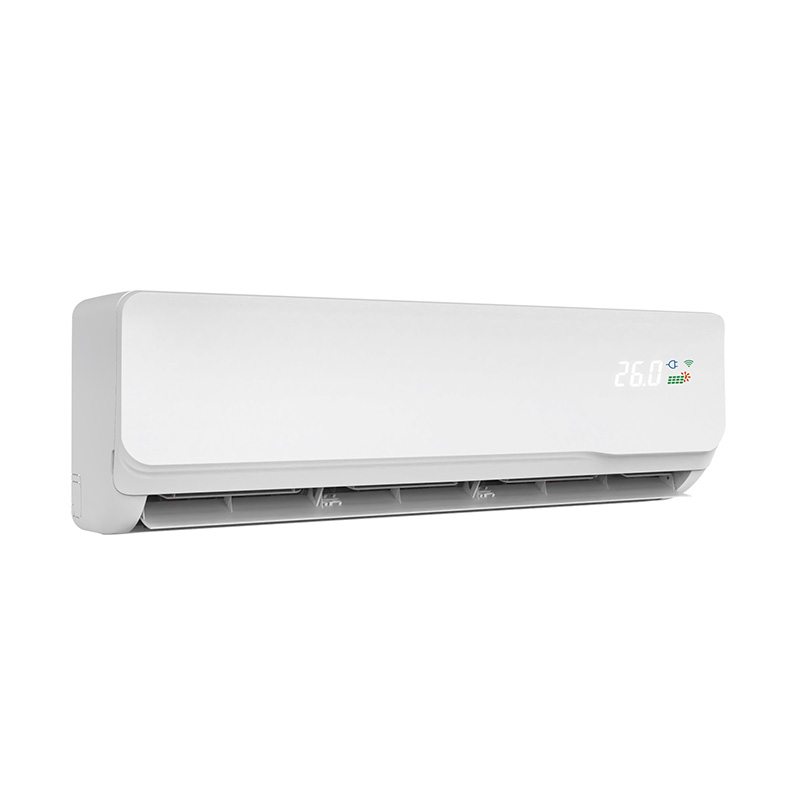 OEM/ODM Wall mounted Solar AC-Off grid DC 48V R410A Manufacturers, Suppliers, FaZhejiang Deye HVAC Technology Co., Ltd. is China OEM/ODM Wall mounted Solar AC-Off grid DC 48V R410A suppliers and Wall mounted Solar AC-...View Product →
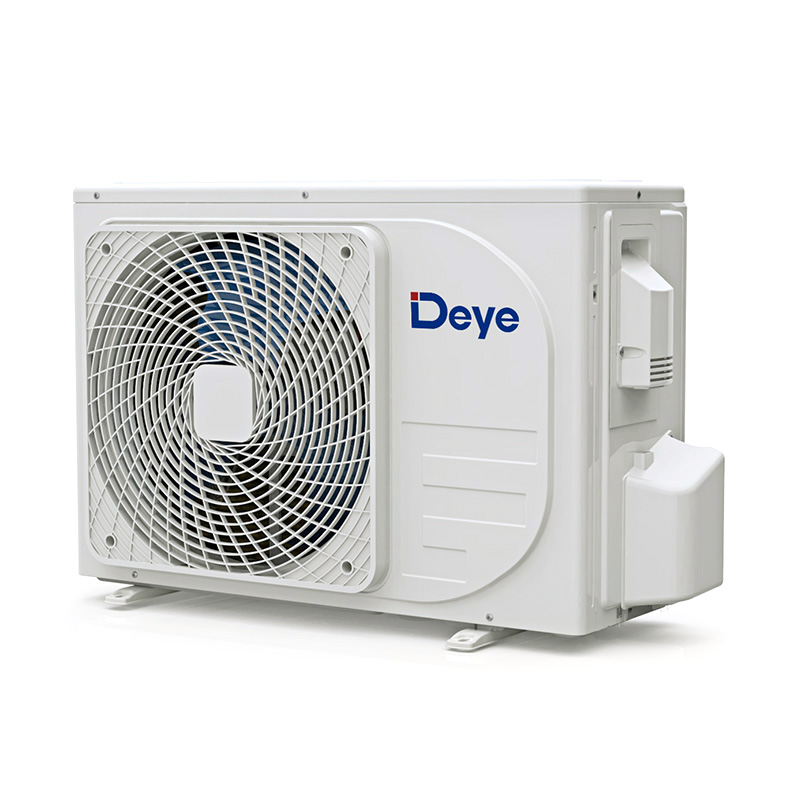 Dga2-Acdcblw-12k Wall Mounted Solar AC-Hybrid ACDC Solar Air Conditioner R410A/ Zhejiang Deye HVAC Technology Co., Ltd. is China Dga2-Acdcblw-12k hybrid ACDC solar air conditioner manufacturers and suppliers, our fact...View Product →
These units are not universal drop-in replacements for a 13,500 BTU roof AC. You still need to match cooling capacity to your RV's size and insulation. They also require a 48V battery bank in the DC-only configuration, which means a different battery setup than a standard 12V RV system. But for owners who want fewer conversion losses, quieter operation, and smoother startup behavior, this approach deserves a place in the comparison.
Final Checklist Before You Buy
You now have the math, the safety factors, and the alternative technologies. Here is the final decision path before you spend money:
- Identify your exact AC wattage. Read the nameplate. If you cannot find it, use a conservative estimate of 1,500 watts for a 13,500 BTU unit.
- Estimate real daily runtime. Be honest about how many hours you will run the AC. Five hours per day is not the same as all-day cooling.
- Check your location's peak sun hours. Use a solar insolation map for your regular camping regions. 4 to 5 hours is a realistic planning number for much of the US summer.
- Size the battery bank before the solar array. The battery must carry the AC, the overnight loads, and the startup surge. Lithium batteries are almost always worth the higher upfront cost.
- Add at least 30 percent headroom for losses. If your calculation says 800 watts of solar, buy 1,000 to 1,100 watts instead. Underperformance happens with heat, partial shade, and older panels.
- Decide how you will handle startup surge. A soft starter, a larger inverter, or a DC/hybrid AC unit. Do not leave this to chance the first time you try to cool down at sunset.
- Plan for expansion. Leave space on your roof for one or two extra panels and confirm your battery bank can be paralleled later. RV solar needs rarely shrink.
The most common mistake in RV solar sizing is focusing only on panel wattage while ignoring battery capacity and inverter losses. A 1,500W solar array can run a 13,500 BTU AC for several hours per day if it is paired with a 600+ Ah lithium bank and a properly sized inverter. The same array will fail if the batteries are undersized, because clouds and evening hours will drain the bank before the AC ever reaches its full runtime.
Another mistake is assuming your AC will always draw its rated maximum. A modern 13,500 BTU unit uses less power when the outdoor temperature is mild and the RV interior is already cool. That variability works in your favor, but do not plan your system around the best-case scenario. Plan around the worst case, then enjoy the efficiency gains when conditions are favorable.
Start with the math for your specific AC, choose a battery-first system design, and decide whether a soft starter, a larger inverter, or a DC/hybrid AC unit makes sense for your setup. With realistic numbers and some honest headroom, solar power can keep your RV comfortable off-grid far longer than most owners expect.
